Making Silhouettes Fun!
Creating silhouettes has been around for ages. The art of the silhouette originated in Europe in the early 1700’s. The word silhouette derives from the name of Étienne de Silhouette, a French finance minister who, in 1759, was forced by France’s credit crisis during the Seven Years’ War to impose severe economic demands upon the French people, particularly the wealthy. Soon de Silhouette’s name became synonymous with anything done or made cheaply and so with these outline portraits. Prior to the advent of photography, silhouette profiles cut from black card were the cheapest way of recording a person’s appearance.
Prior to the French revolution, silhouettists were hired as
entertainment for the royal class. They would attend an extravagant soiree and cut out the distinguished profiles of the regal
lords and ladies capturing the latest fashions and elaborate of the affair.
To create a Silhouette image many artists, especially from around 1790, drew an outline on paper, then painted it in, which was a quick process, others used their scissors as a guide to cut in live time. Today silhouettes may be created in any visual artistic media, then they are stuck to a backing in a contrasting color, print or base and often framed.
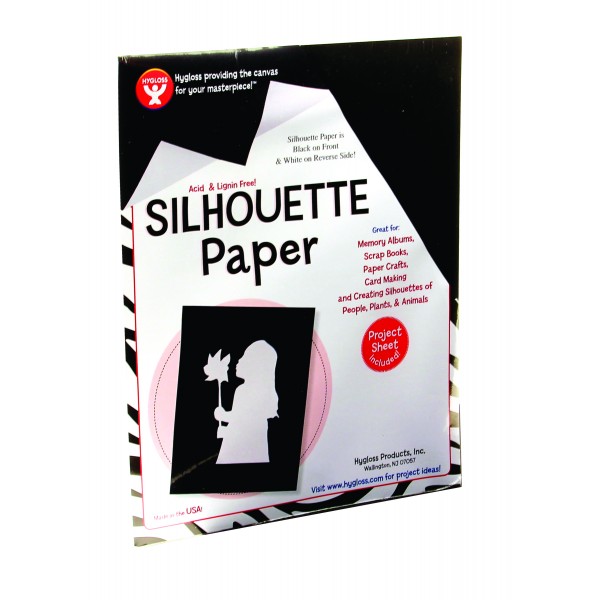
Hygloss offers a variety of papers that are perfect for this such as double sided silhouette paper. Black on one side, white on the other. You can also use black card stock, cover white card stock with a black sharpie or use acrylic paint. Let’s get started and make our own fun silhoutte piece.
Supplies
- Pack of 8 1/2 by 11 Silhouette Paper, Hygloss Products
- Pack of Parchment Paper, Natural color, Hygloss Products
- Medium sized piece of stone, tile, slate or wood.
- Camera or Smart Phone, Printer
- 3 in 1 Craft Glue, Kids Choice or Gem Tac, Beacon Adhesives
- Black Sharpie Pen, Pencil
- Scissors
Directions
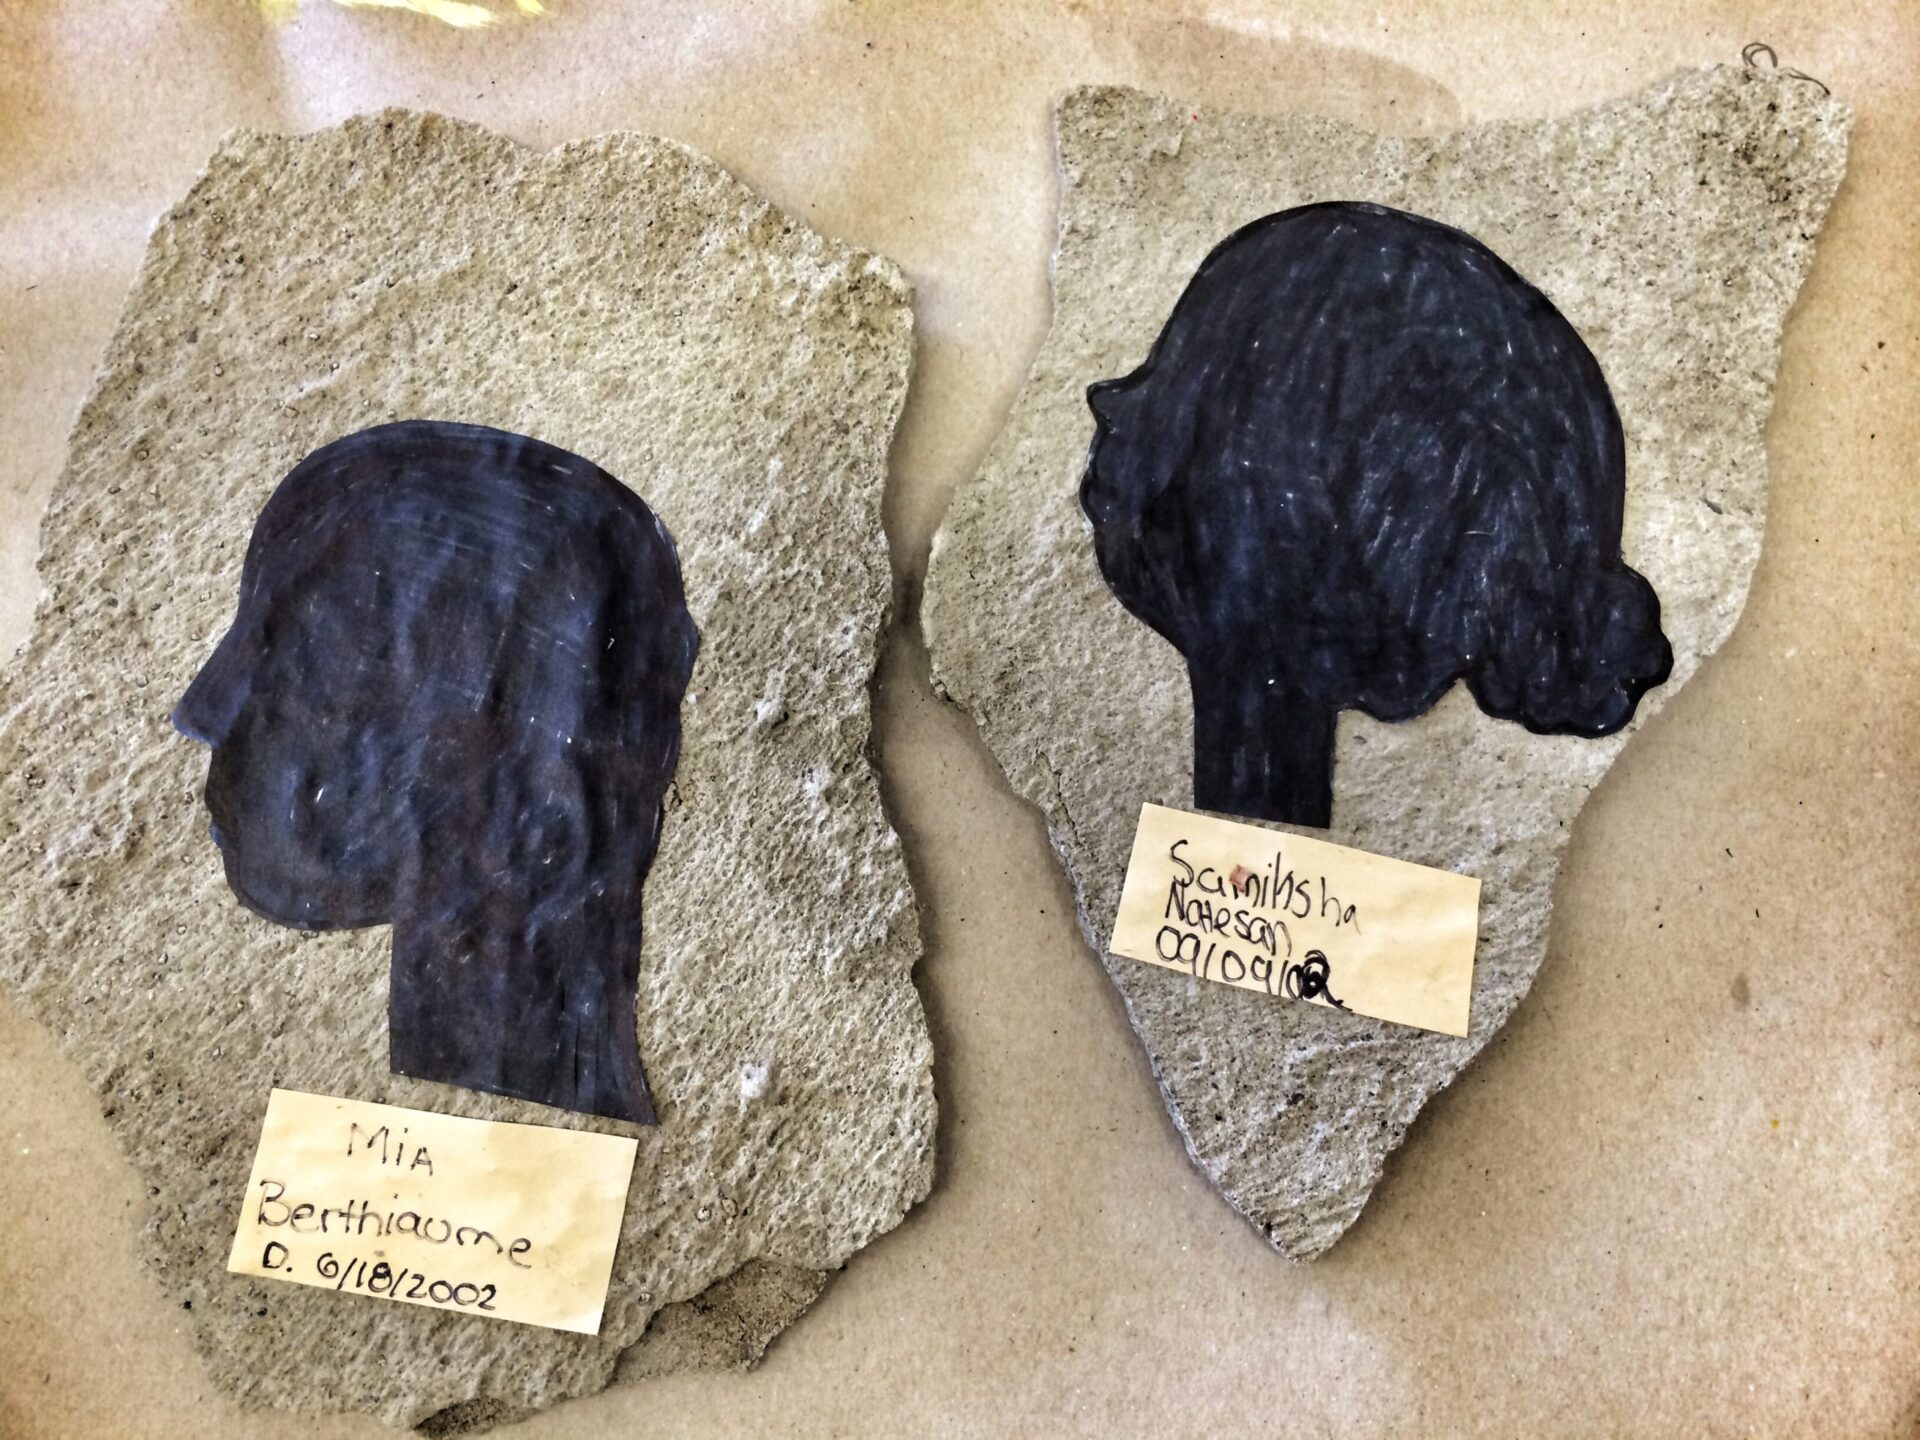
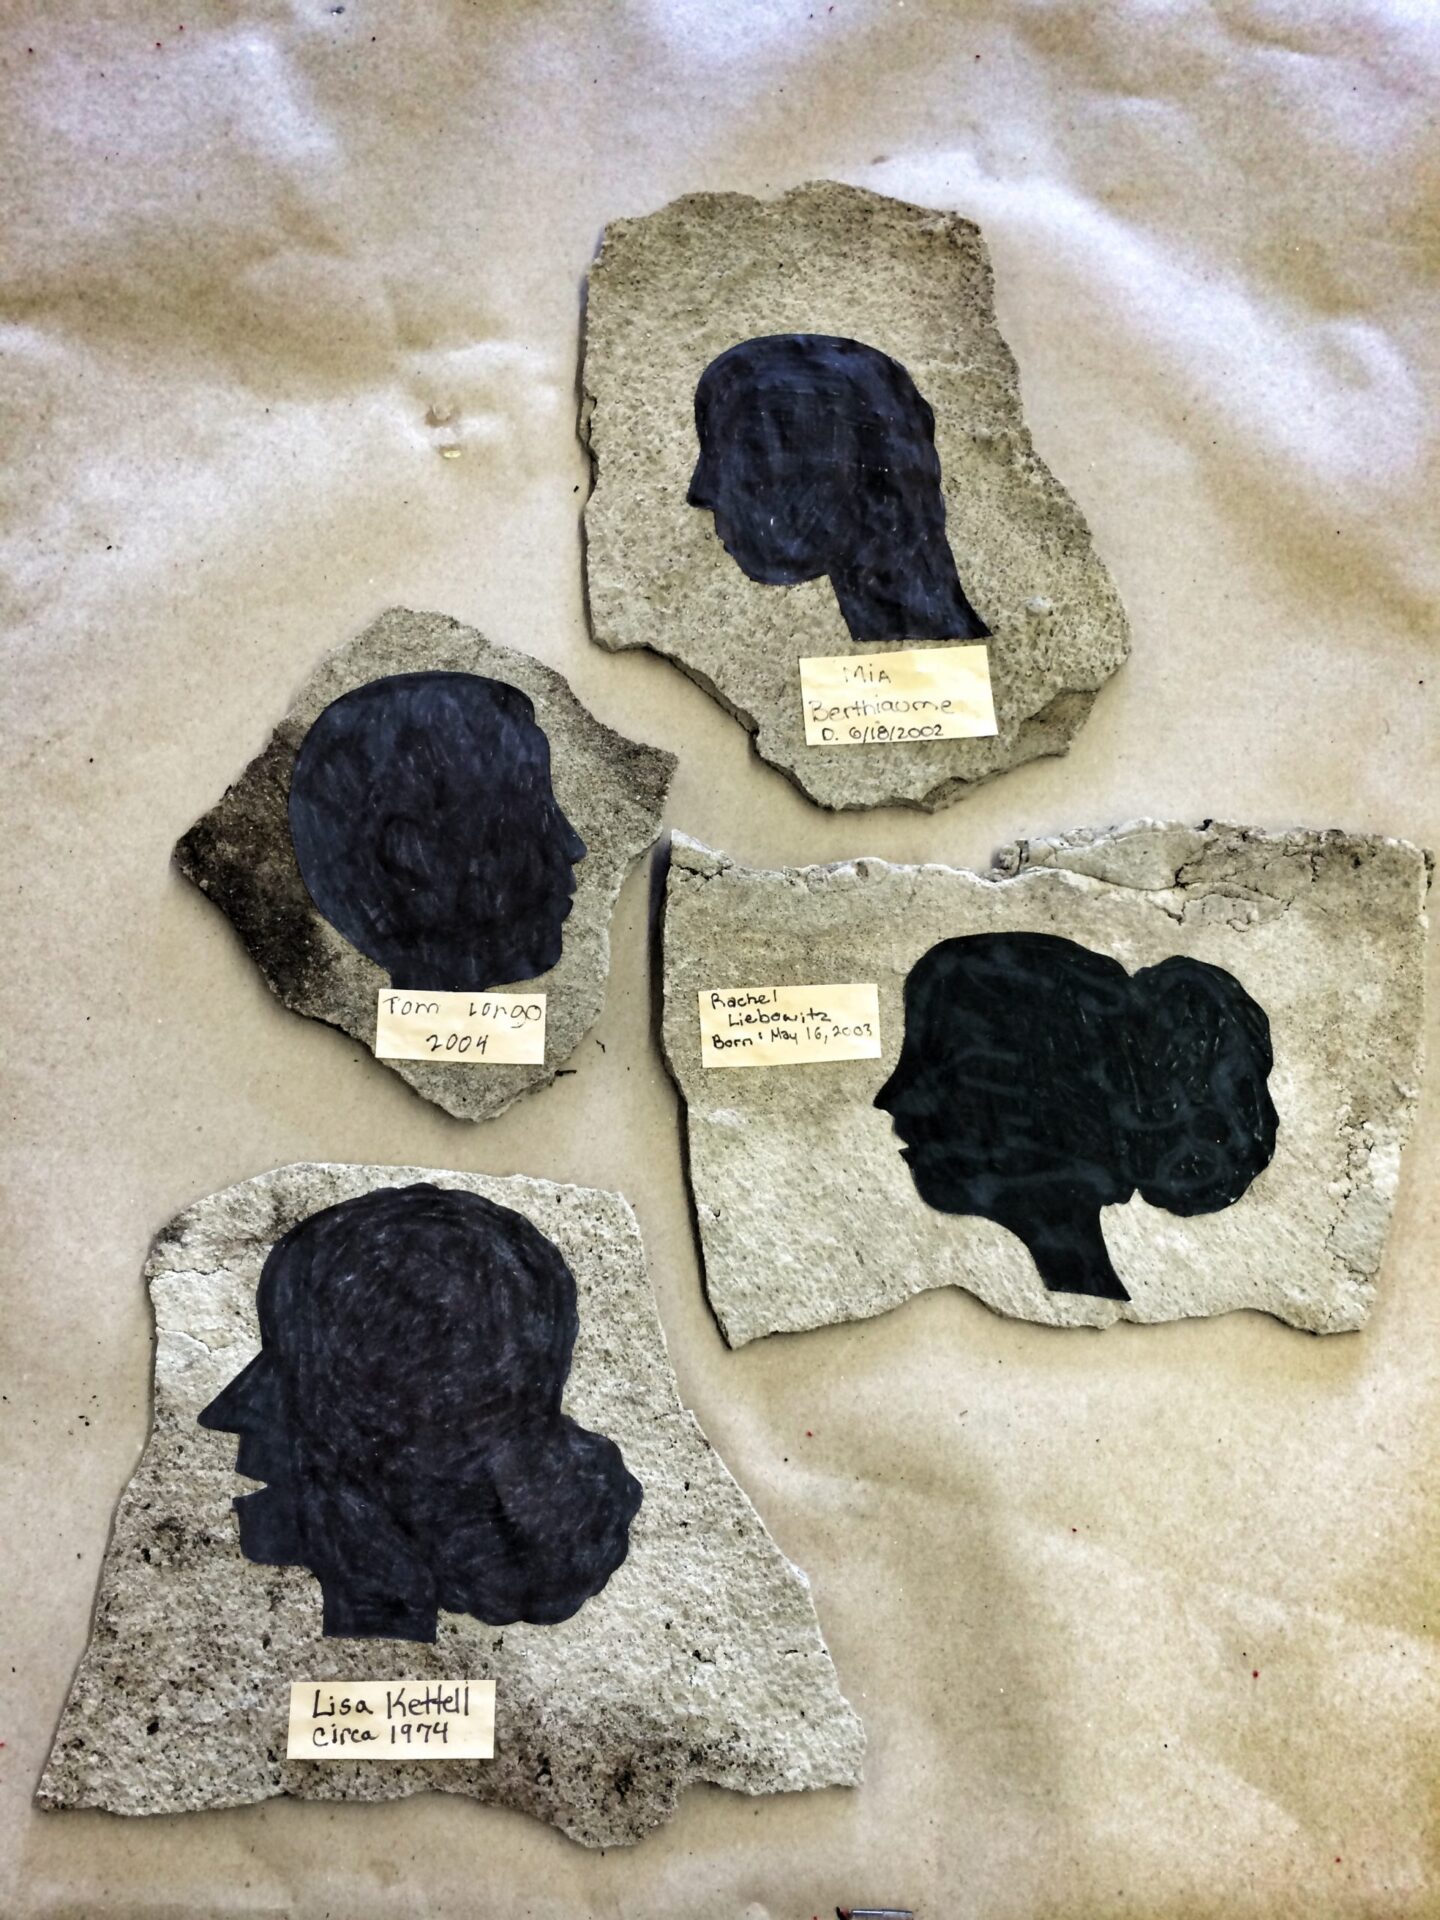
- Have each child stand sideways, take their side profile picture, downloaded it to the computer, print it and cut the side profile picture out. This will be your template.
- Trace the cut out side profile picture and trace onto the silhouette paper with a pencil, then cut out.
- With a black sharpie have your child or students write their name and birth date year onto a piece of parchment. Cut out.
- Glue your silhouettes and piece of parchment to a flat piece of stone, tile or slate.
Tips/Hints
- If you don’t have silhouette paper or black card stock, color in white card stock using a sharpie.
- You can attach a flat picture hook to the back of the stone using a strong glue. (Make sure this part is done by adults)
- Attach ribbon to the back of the stone to hang using gem tac.
- If you don’t have a computer handy try drawing the side profile by hand or search for old pictures and use them as a template for your silhouette.
This is such a fun project for all ages. Love to see what you create. Stay tuned for more fun projects from Hygloss Products. Don’t forget to follow us in Instagram, Facebook and Pinterest.
Happy Creating!!!


