Make Your Own Scarecrow
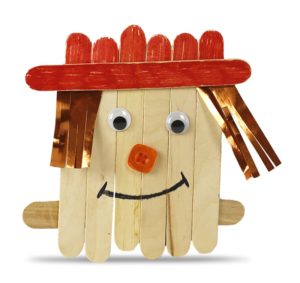
Fall is a great season for crafting and spending time inside where it’s warm and cozy! Try out this fall-themed MAKE-YOUR-OWN SCARECROW CRAFT to hang on your wall or sit on your desk in the classroom or on your dresser at home.
This is a fun and easy project which children of all ages and is particularly good for younger crafters to get started with cutting and gluing materials.
MATERIALS USED FOR THIS PROJECT:
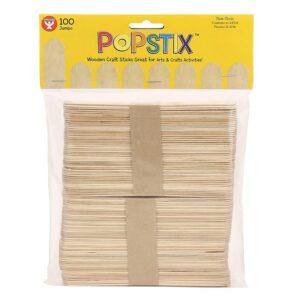
Hygloss Copper Metallic Foil Paper
Glue
Magic Markers
STEP ONE:
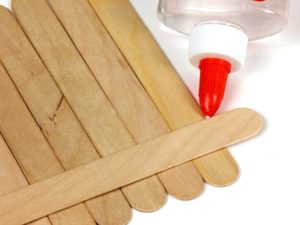
Place two Hygloss Popstix in a row, side-by-side. Align them so that they are even across the top. Next, place a single Hygloss Popstix across the top and glue it in place.
STEP TWO:
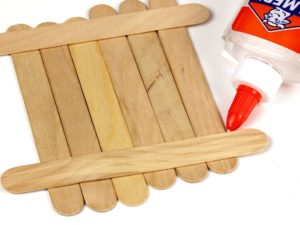
Place a single Hygloss Popstix at the opposite end of your “scarecrow head” and carefully glue that Stix in place. This will give your project structure and support for the next steps and will make it more stable for hanging or showing.
STEP THREE:
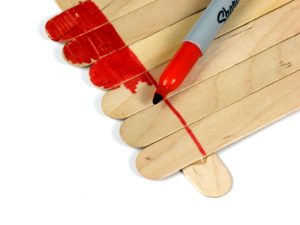
It’s important that you turn your craft over so that the “beams” that you made are now on the backside of your craft. Next, pick one end of your scarecrow to be the top and color in where the scarecrow’s hat will be.
NOTE: You can measure how far down to color by using the “beam” on the back as a guide. You don’t want to color any further down past the bottom of the beam on the back.
STEP FOUR:
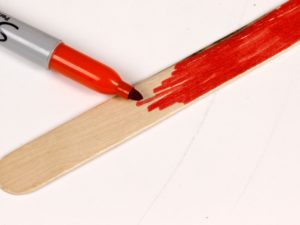
Take a new piece of Hygloss Popstix and lay it out for coloring. Carefully color in one side of the Popstix using paint or a colored marker.
STEP FIVE:
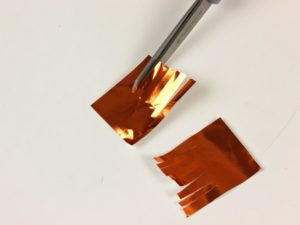
Using a piece of Hygloss Copper Metallic Foil Paper or any other type of orange construction paper, cut out two rectangles, one for each side of your scarecrows head. Be sure not to make the squares too long or too wide to fit his head.
Once you have your rectangles cut, make smaller cuts inside the rectangle to make his hair.
STEP SIX:
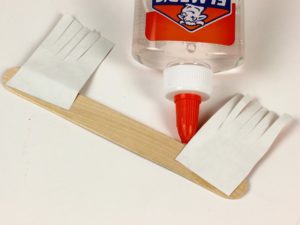
Take your colored PopStix “hat brim” and turn it over. Then take the pieces of Hygloss Metallic Foil Paper and turn them over so that all of the color sides of the materials are facing down.
Carefully glue the pieces of orange paper to the back of the Popstix, one on either end of the Popstix.
STEP SEVEN:
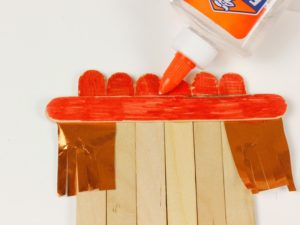
Align the Popstix hat brim and hair to the “beam” behind your scarecrows head. Once you have aligned your hat brim to the structure, gently glue the Popstix in place and allow a few minutes for it to dry.
STEP EIGHT:
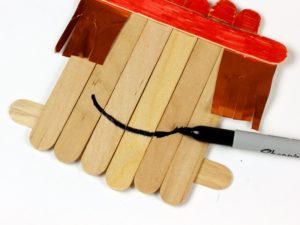
Draw a bright and upbeat smile with a black magic marker. : )
STEP NINE:
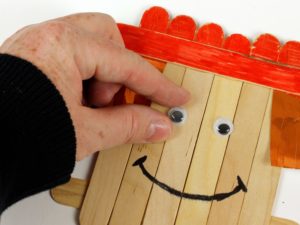
Peel the self-adhesive backing from the Hygloss Wiggle Eyes and, one at a time, place them on your scarecrows face – you’re almost done!
STEP TEN:
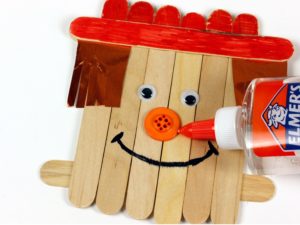
Last step! Take a Hygloss Button (any size or color) and carefully glue it in place. He looks great!
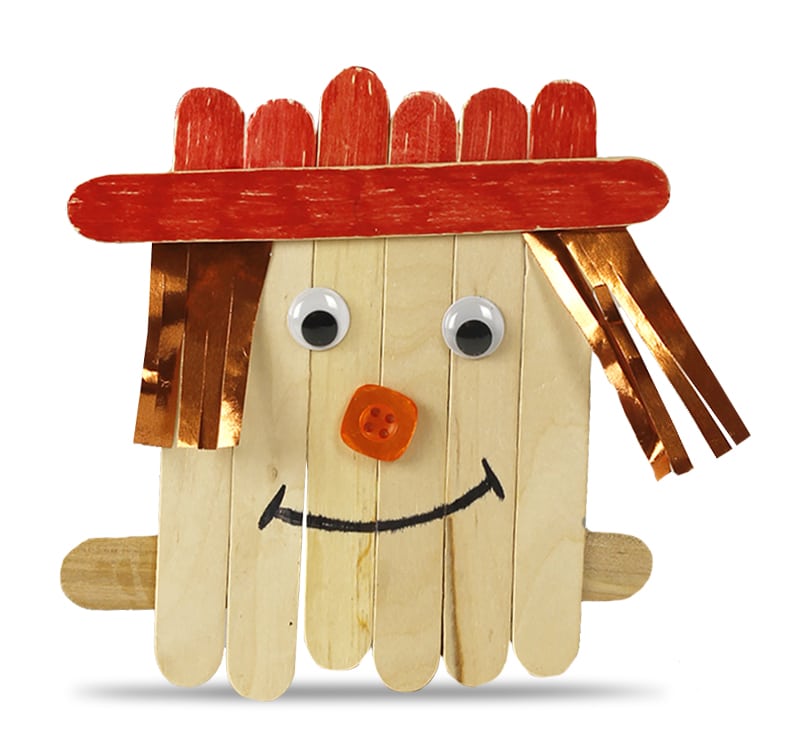
You can further customize your make-your-own scarecrow craft by giving him eyebrows or rosy cheeks! Use string or yarn to harness a hanging feature to the back and he can hang on the wall or rest him on a flat surface like a desk, dresser, or table as a Thanksgiving accent. Great job!


