DIY Popsicle Stixs
It doesn’t have to be summer in order to enjoy ice cream or fruity popsicles, especially the paper kind. Today we are sharing a fun project using a variety of Hygloss Papers and Pop stixs to make our own splice of summer. If we can’t enjoy the summer weather now, then we are bringing it in doors with these cute DIY Popsicle Stixs. Inspired by sticker icon Lisa Frank and all the brightly colored photos on Instagram.
For this project I want you to think of fun carnival colors, ice cream trucks and warm sunny days at the beach. You can download popsicle illustrations from free to use sites or draw your own. With just a few simple supplies from Hygloss Products and you will be on your way to creating some sweet sparkly paper art.
Lets get started….
Materials
- Popsicle Pattern (Just draw an upside down u shape)
- Embossed Metallic Paper, Hygloss Products
- Velour Paper, Hygloss Products
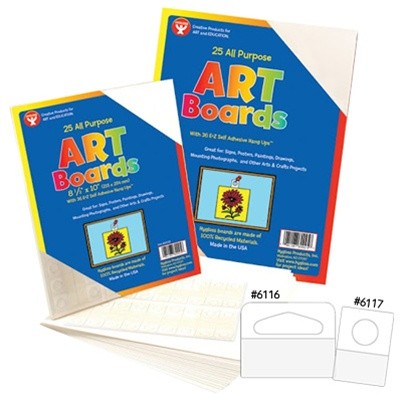
- Art Board, White, Hygloss Products
- Pop Stixs, Hygloss Products
- Glitter, Hygloss Products
- Craft Glue
- Tool; Scissors
Step 1
Draw a popsicle shape or download a popsicle pattern and cut out. Trace onto various sheets of metallic and velour paper, cut out. Glue to white art board using craft glue, let dry and re-cut. For adults zip dry works well, for kids use craft glue sticks.
Step 2
Attach a popsicle stick to the back of the cut art board using craft glue, let dry.
Step 3
Apply glitter or confetti to various areas of your popsicle for more sparkle.
Tips
- You can illustrate your own with coloring templates.
- Coat your popsicle with confetti or sequins.
- Make these mini for paper clips or use as page markers in your daily planners.
- Use these in various sizes for your paper layouts, as school bulletin decorations, invitations or party garland
Hope you were inspired by our latest project. So fast and easy to do. Visit us often for more creative and educational ideas!
Lisa


